
Set up categories so the AI sorts receipts correctly
Categories are the drawers every expense and every sale goes into, whether you type it in yourself or let the AI read a receipt or bank slip. Your charts, monthly summary and cost per dish are all calculated from categories. Get them right at the start and every number in the app is right too.
The AI doesn't know your restaurant. It can only pick from the category names you already have in the app. If nothing matches what you bought, it uses the closest one or drops it into “Other”. Spend 5 minutes making your categories match what your shop actually buys before you start recording, and you'll hardly ever need to fix anything.
-
Open the Categories tab
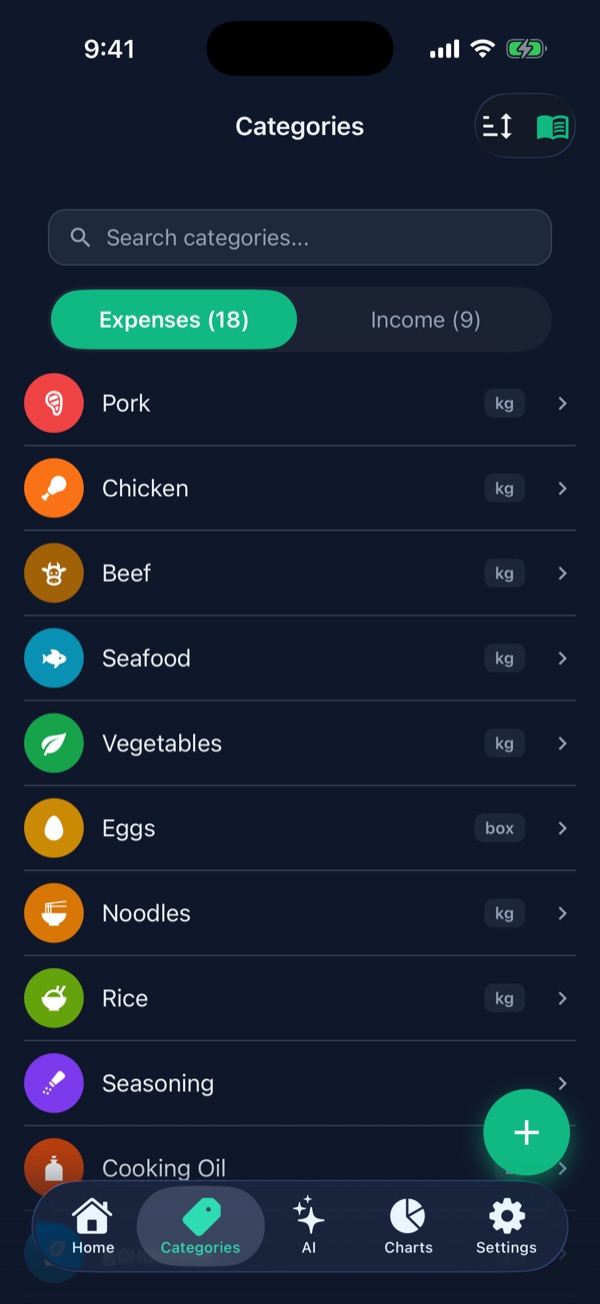
Tap Categories in the bottom bar 1. A new shop starts with a basic set: 18 expense categories (Pork, Chicken, Vegetables, Eggs, Seasoning, Rent, Utilities…) and 9 income categories (Dine-in Sales, GrabFood, Lineman, Shopee Food…).
Switch between Expenses and Income with the toggle at the top. The category library (green book icon) is at the top right 2, and the + button for adding your own is at the bottom right 3.
-
Add categories from the library (fastest)
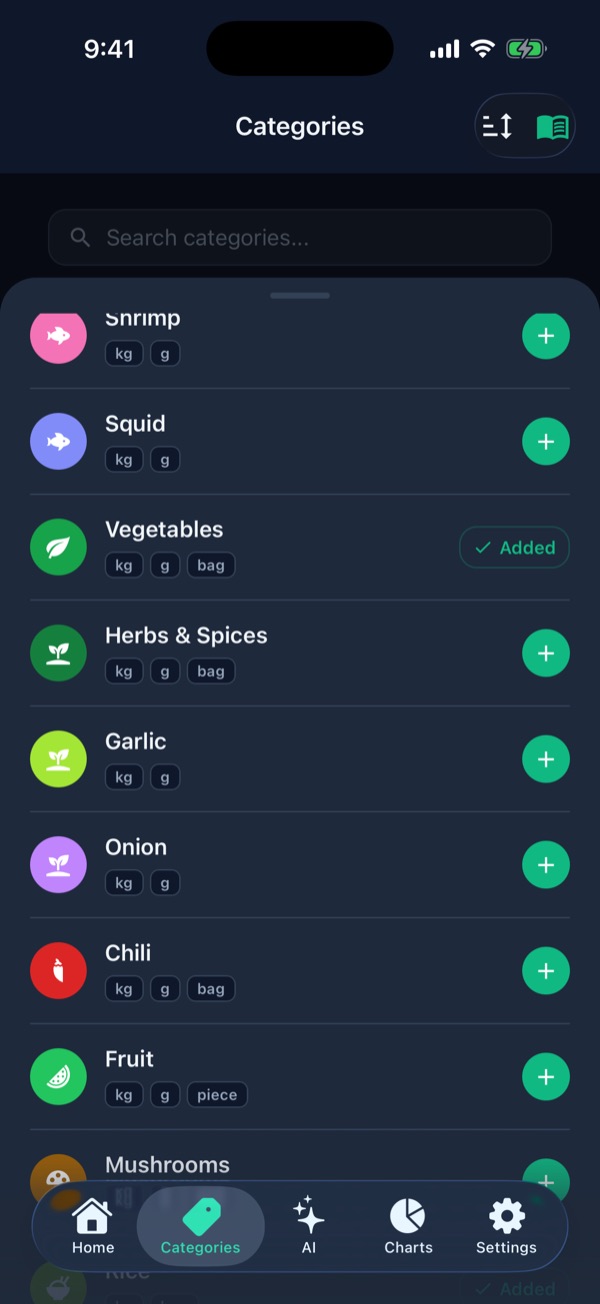
Tap the book icon to see 45 ready-made categories such as Shrimp, Squid, Duck, Garlic and Herbs & Spices. Tap the green + next to the ones your shop really buys 1. Categories you already have show “✓ Added”.
The small tags under each name (kg, g, piece) are the suggested units. The app sets the first one for you.
The library shows categories for the tab you're on. To add an income category, switch to the Income tab before tapping the book icon.
-
Not in the library? Add your own with +
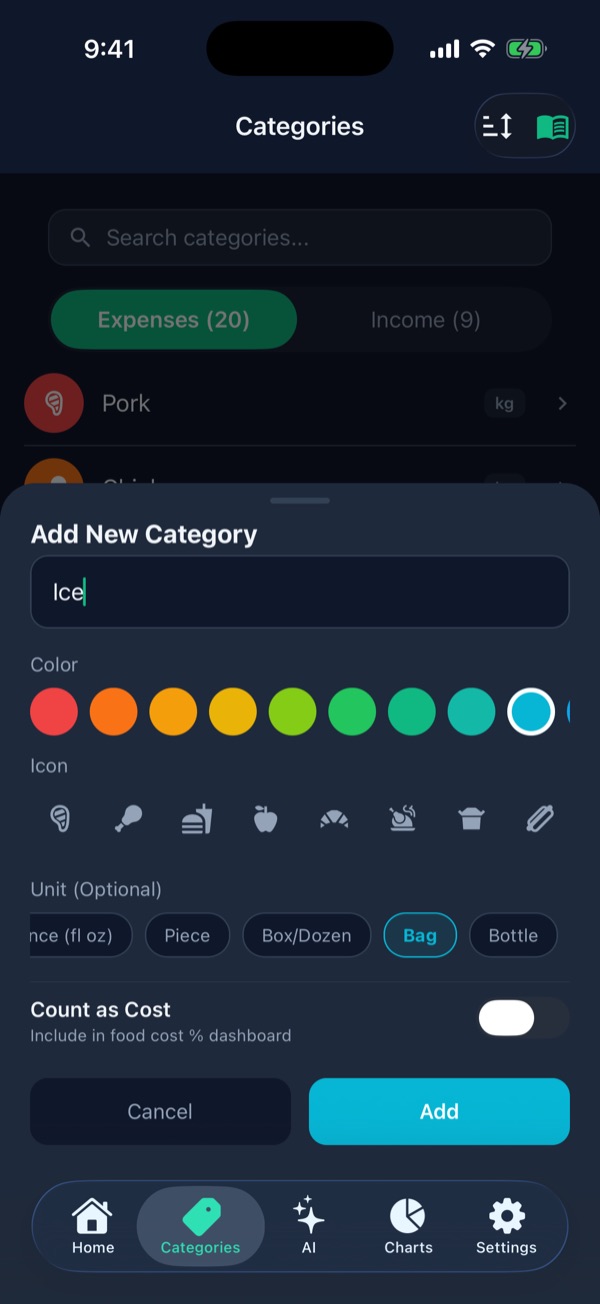
Tap + at the bottom right and fill in:
- Category Name 1: use the word your staff use, like “Ice”, “Charcoal” or “Coriander”
- Color and Icon: pick something easy to spot (these can't be changed later)
- Unit 2: optional. Ice, for example, comes by the bag
- Count as Cost 3: turn on for ingredients that go into your food
Then tap Add.
-
Put the ones you use most at the top
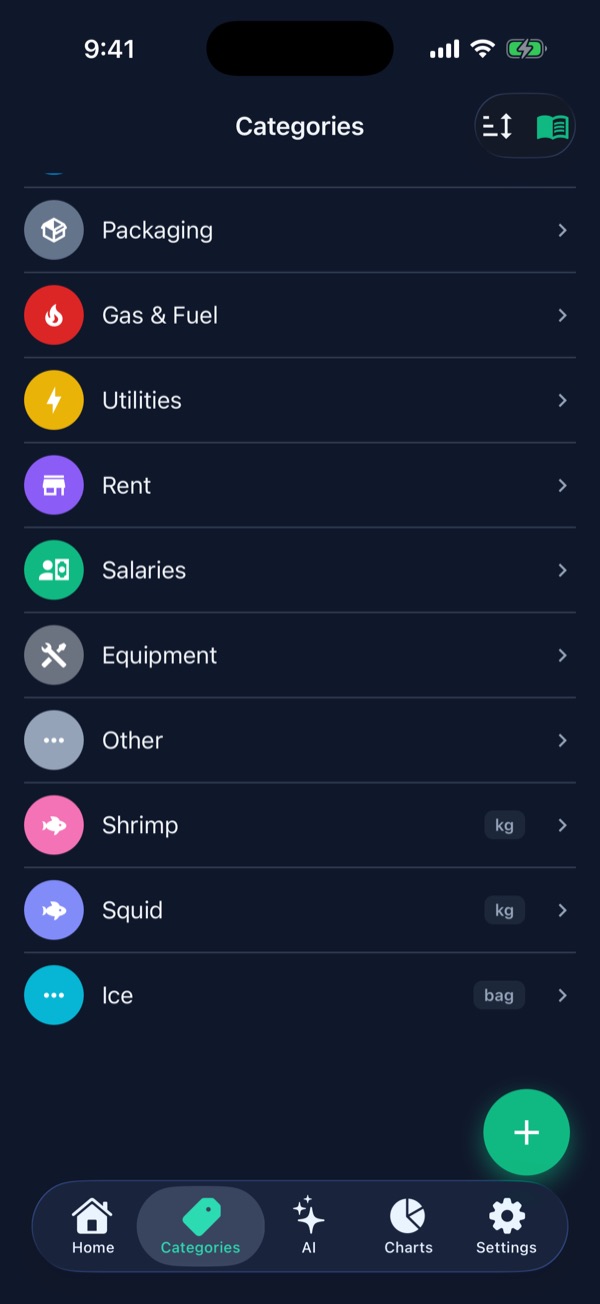
New categories go to the end of the list 1. For the ones you use often, tap the sort icon (up-down arrows at the top right), then press and drag them up, and tap Done. This order is used when you pick a category by hand, so recording gets faster.
Keep an eye on Other 2. If lots of items pile up there, your shop buys something that doesn't have a category yet, so add one.
-
Rename or hide categories you don't use
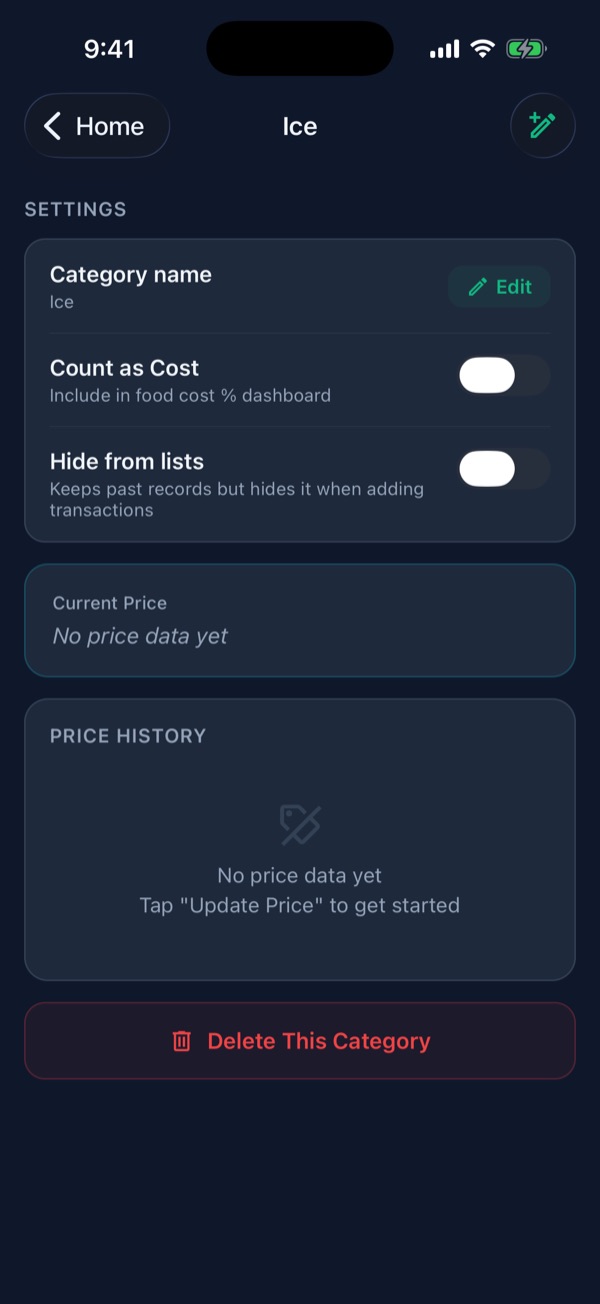
Tap any category to open its details:
- Edit 1: change the category name
- Hide from lists 2: the category disappears from the picker when you record something, but its history stays. If you don't sell beef, for example, hide Beef.
The built-in categories can't be deleted, only hidden. Categories you added yourself have a Delete This Category button at the bottom, which also permanently deletes that category's price history.
How to name categories so the AI gets them right
For this guide we added “Shrimp” while “Seafood” still existed, then told the AI “shrimp 350”. In one test it chose Shrimp; in another it chose Seafood. When two categories both fit, you can't predict which one the AI will pick.
Choose one approach: keep the broad category only (“Seafood”), or if you want detail, rename the broad one so they no longer overlap, e.g. “Seafood” → “Fish”. Hiding the broad category doesn't help yet, because the AI still sees hidden categories.
- Name them after what you actually buy. “Ice” beats “Other ingredients”. The closer the name is to the words on your receipts, the better the AI does.
- One category, one thing. Avoid catch-alls like “Fresh & dry goods”: the AI struggles to choose and your charts can't tell you anything.
- Split income by channel, e.g. Dine-in, GrabFood, Lineman, so you can see which channel really makes money after platform fees.
- Items piling up in “Other” means it's time to add a category.
- The AI got one wrong? You can always fix it. See moving an item to another category.
What “Unit” and “Count as Cost” are for
Unit (kg, bag, tray, bottle) lets the app track the price per unit, such as how much pork costs per kilo and whether it went up since last month. It's also used to work out cost per dish in your menu. You can record expenses without it. Update a price from the category's detail page (pencil icon, top right).
Count as Cost should be on for ingredients that go into your food (pork, vegetables, ice) and off for fixed costs (rent, electricity, wages), so your food cost % against sales comes out right.